1. Take the Sock off the Base Station
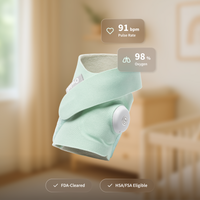
When you take the Sock off the charging port the Base Station will start bouncing green, indicating that the Sock is looking for readings from your child. It’s time to put the Sock on your child’s foot.

2. Choose a Size
Each box comes with 4 socks (2 sizes in a left and right). Choose the appropriate size Sock for either the left or right foot.
Important: Switch between left and right Socks every week or so to avoid irritation on baby’s skin.

3. Insert the Sensor (If not already attached)
After selecting a size, make sure the sensor is properly attached to the sock. The notch on the sensor should line up with the notch in the sock.

4. Position the Sock
Place the notch in the Sock behind the pinky toe on the side of their foot.

Secure the sock strap around the foot above the toes.

Then wrap the ankle strap around the back of the ankle and secure it on top of the foot.

5. Avoid these Mistakes
Leaving these issues unresolved now could lead to discomfort for your baby, or being notified when you are trying to sleep
Mismatched sock
Make sure to use the left sock for the left foot and the right sock for the right foot.
Wrong size
If the ankle strap doesn’t fit all the way on the pad, you may need to move up to the size 2 sock.
Sock too loose
The Sock and straps should be snug against the foot.
Sock too tight
Don’t cinch the Sock too tight or it might be uncomfortable for your child.
6. Check the Base Station
With the Sock now on the baby, check the Base Station. Once it softly pulses green that means that your child’s readings are being picked up and are normal.

